
A logo pasted into a quotation PDF is not production artwork. The manufacturer still needs an editable graphic, exact printed size, color definitions, layer instructions, part orientation and an approved placement proof. Without that package, someone must guess where the image belongs and how it should separate for pad printing, screen printing or UV digital printing.
Quick answer
Send three things together: the editable artwork, a locked PDF proof and the component CAD or drawing that locates the print. Use vector paths for logos, text and solid icons when possible. Keep photographs and tonal textures as original high-resolution raster images. Name every spot color, white layer and clear layer, then assign an artwork revision to each component and printed face. Do not release mass production from a screen proof alone. Approve a decorated sample made on the production material.
1. Build a production package, not a single file
No single format carries every instruction safely. An editable artwork file lets the prepress operator inspect paths, layers, colors and linked images. A PDF records the intended appearance. The component CAD or dimensioned drawing connects that image to a real print area.
Adobe's packaging guidance separates the working document, linked graphics, fonts and a package report because a design file can depend on assets stored elsewhere.[1] The same risk exists in board game production. An AI file may open correctly on the designer's computer but show a missing portrait or substituted font after transfer.
| Package item | What it controls | Suggested content | What it does not replace |
|---|---|---|---|
| Editable master | Paths, text, layers, swatches and image links. | Native design file plus linked assets. | The approved visual proof. |
| Production artwork | The exact graphic prepared for a named print process. | Outlined or packaged text as agreed, separated colors, white and clear layers. | Part geometry and print location. |
| PDF proof | Visible appearance, orientation, labels and revision. | Composite view plus layer or color notes. | An editable source file. |
| Part CAD or drawing | Print boundary, datum, face ID and physical size. | STEP file and dimensioned print-zone drawing. | The graphic itself. |
| Artwork matrix | Which graphic belongs to each part, color and SKU. | Part number, face, artwork ID, revision and quantity. | A signed decorated sample. |
| Approval record | The accepted appearance and test status. | Signed sample ID, date, revision and approver. | Change control for later production. |
Keep printing artwork separate from the 3D manufacturing model. The model may show a rendered label or texture, but that rendering is only a placement reference. Kingke's guide to CAD files for custom board game pieces explains what belongs in the mold-design package. The artwork package should reference the same part revision so geometry and decoration cannot drift apart.
The folder names are examples, not a required standard. The useful part is the relationship: every production file points to one component, one face and one revision.
2. Choose vector or raster artwork by image type
Vector graphics describe shapes with points, lines and curves. They can be resized without the pixelation that appears when a raster image is enlarged. Raster images are built from a fixed grid of pixels and are better suited to photographs, painted textures and continuous tonal detail.[2]
| Artwork element | Preferred starting format | Reason | Preflight question |
|---|---|---|---|
| Logo or faction symbol | Vector | Edges and proportions remain editable at the final size. | Are strokes, fills and cutouts intact? |
| Small text or numbers | Vector text or outlines as agreed | The printer can inspect paths and avoid accidental resampling. | Are fonts available, licensed and approved? |
| Solid one-color icon | Vector | Color separation and plate preparation are easier to inspect. | Is it assigned to the correct spot color? |
| Character portrait | Original raster image | Pixels can preserve shading and painted detail. | Does it have enough pixels at final printed size? |
| Gradient or texture | Raster or process-compatible vector art | The final method depends on the selected output workflow. | Has the printer confirmed how it will be reproduced? |
| Placement outline | Vector on a non-printing guide layer | It shows the boundary without becoming part of the graphic. | Is the guide clearly marked as non-printing? |
A file extension does not prove that the content is editable. A PDF can contain vector paths, raster images or both.[2] Saving a low-resolution screenshot as PDF does not turn it into vector artwork. Ask the prepress operator to inspect the objects at final print size.
Avoid inventing a universal resolution requirement. Effective raster resolution changes when the image is scaled. The printer also needs to consider output settings, viewing distance, artwork detail and the physical size of the component. Supply the original image at its native pixel dimensions and state the final printed dimensions. The supplier can then confirm whether it is suitable.
3. Separate spot colors, process colors and special layers
Pad printing and screen printing often treat each solid ink as a separate color separation. Adobe defines color separation as dividing artwork into the plates needed to reproduce the image. A custom spot color receives its own separation, while continuous-tone process artwork is commonly separated into cyan, magenta, yellow and black.[3]
That distinction affects the production file. A two-color pad-printed pawn needs two clearly named spot colors and a registration plan. A full-color UV-printed token may use process colors plus separate white or clear layers. Do not leave the printer to decide which similar swatches should merge.
Name colors by function
Use names that connect the swatch to the specification, such as `Faction_Red`, `White_Underbase` or `Clear_Gloss`. If a Pantone reference is required, record the exact reference in the artwork matrix and sample approval. A monitor preview is not the final color standard. Adobe notes that the physical ink and printed substrate affect the appearance of a spot color, while the screen value only simulates it.[4]
Give white ink its own layer
White ink may be used as visible artwork or as an underbase beneath color on dark, colored or transparent parts. Direct-to-object UV systems can also offer clear ink for selected gloss or texture effects.[5] Keep each special ink on a separate, named layer and state the intended print order. The supplier should provide the exact swatch name or layer convention required by its RIP software.
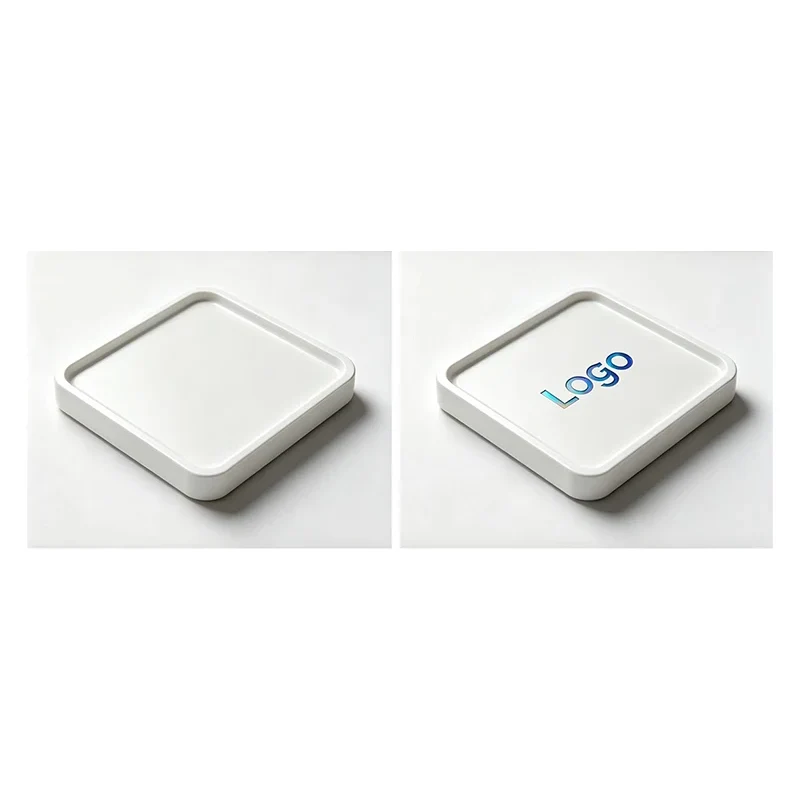
Part outlines, centerlines, dimensions and notes should sit on clearly marked non-printing layers. A guide that is visible but not identified can be mistaken for artwork during export.
4. Define placement on the actual 3D component
Artwork position needs a physical reference. "Centered on the token" may be clear to the designer but ambiguous to the fixture maker if the token has a raised rim, gate witness, asymmetric recess or two similar faces. Dimension the print from a datum that the manufacturer can locate consistently.
For every printed face, show:
- The component part number and CAD revision.
- The face ID and viewing orientation.
- The artwork center or another agreed locating point.
- The final printed width and height.
- The safe print boundary and non-print areas.
- Distance from raised edges, holes, ribs, texturing and other obstacles.
- Front, back, top and rotation direction when the shape can be loaded more than one way.
A flat PDF mockup is especially risky on curved plastic pawns. The image can distort as it follows the surface, and the fixture must return the piece to the same orientation for every color. Give the supplier the source artwork before compensating for curvature. The supplier should confirm whether distortion adjustment belongs in the art, plate or machine setup.
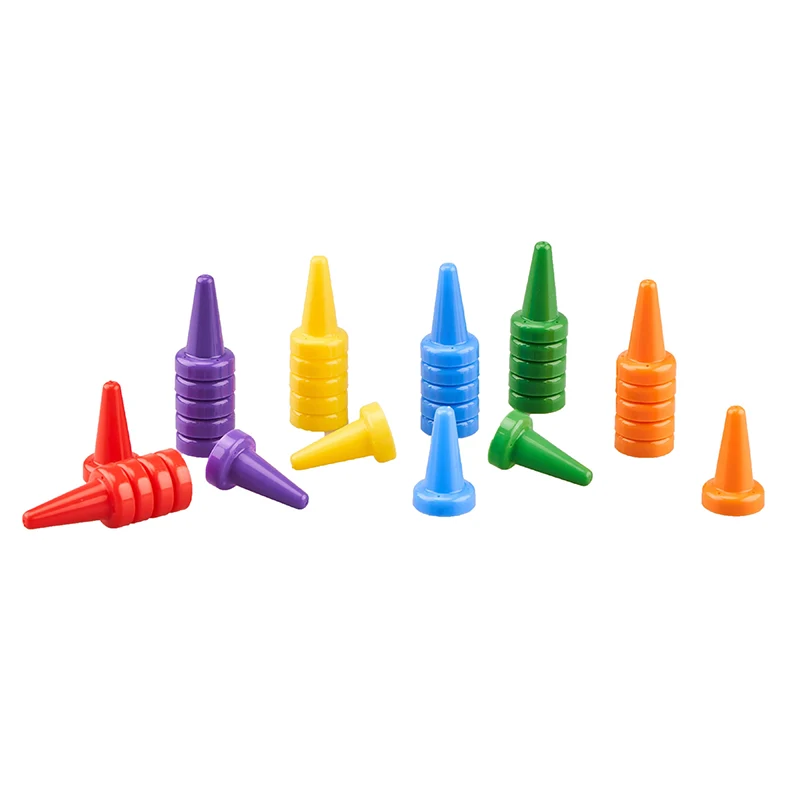
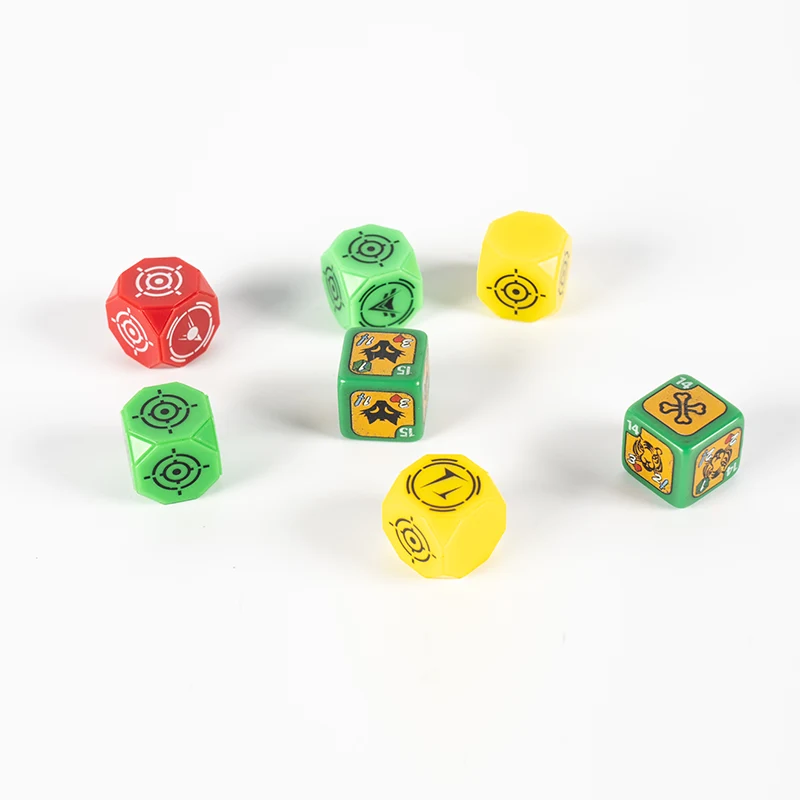
For plastic board game tokens, define the printable face inside any raised border or chamfer. The overall token diameter is not automatically the available image diameter. On printed game cubes, treat each side as a separate face and specify the orientation relationship between faces.
5. Confirm line, text, bleed and edge limits with the printer
Designers often ask for one minimum line width or one minimum font size. Those limits change with the process, plate, pad, ink, substrate, surface texture, print direction and required inspection distance. A number copied from an unrelated printing guide can create false confidence.
Ask the supplier to review a production-size test strip or the hardest area of the real artwork. The review should cover:
- Positive and reversed line width.
- Small text, counters and narrow gaps.
- Registration between adjacent colors.
- Gradient transitions and small tonal detail.
- Distance from the image to a rounded edge or raised feature.
- Ink coverage and opacity over the selected resin color.
Bleed works differently on a molded component than on a flat sheet that will be trimmed. If the graphic is meant to reach an edge, show exactly where it should stop and ask how the fixture and process handle overspray, wrap or edge transfer. Do not add a generic bleed and assume the printer will trim it away.
If the game uses dozens of icons, place the smallest text, thinnest line, tightest gap and most difficult color transition on one representative component. Approving that limit sample can prevent the same prepress correction from being repeated across every SKU.
6. Control artwork versions across parts and SKUs
A board game may reuse one molded token in several colors, with different artwork on the front and back. That is efficient until the file names become `final`, `final2` and `final_new`. The factory needs a release matrix that identifies one approved file for every decorated item.
| Field | Example | Why it matters |
|---|---|---|
| Project code | BG104 | Keeps similarly named files from different games apart. |
| Part number | TK01 | Connects artwork to the molded component. |
| Part color | Green | Identifies the base color used for opacity and color approval. |
| Printed face | Face A | Prevents front and back reversal. |
| Artwork ID | WOOD_03 | Names the graphic independently from the component. |
| Artwork revision | R03 | Shows which design supersedes the earlier release. |
| Quantity | Purchase-order quantity | Connects the approved version to the production lot. |
| Approval status | Approved sample ID | Links the file to the physical reference. |
Use revision numbers inside the artwork, proof, matrix and approval record. When a file changes, state what changed. Do not overwrite an approved file without creating a new revision. Archive superseded files away from the active production folder so the operator has one release set to follow.
If the same image appears on several board game plastic components, keep one controlled master graphic and create separate production placements for each part. This prevents an edit to a curved pawn layout from silently changing the version approved for a flat token.
7. Move from screen proof to physical approval
Artwork approval should move through distinct stages. Each stage answers a different question.
- Preflight review: Can the supplier open the editable file, find every link, identify colors and understand the layer instructions?
- Placement proof: Is the correct artwork assigned to the correct part, face, size and orientation?
- Decorated sample: Does the real process reproduce acceptable color, opacity, sharpness, position and registration on the production material?
- Functional review: Does the print survive the agreed adhesion, handling, assembly and packing checks?
- Golden sample release: Is the signed physical sample tied to the final artwork revision and purchase order?
Do not combine these approvals into an email that says "looks good." Name the approved file revision and sample ID. If color, material or print location is still under review, mark that item as open.
Kingke lists both UV digital printing and screen and pad printing services. The selected process should appear on the artwork release because the color build, layers and prepress requirements can differ.
8. Common file mistakes and their production effect
| File problem | Production risk | Correction |
|---|---|---|
| Only a JPEG or screenshot is supplied | Edges may pixelate and spot colors cannot be separated cleanly. | Send the editable vector source or original raster master. |
| PDF has no revision or part number | The factory cannot prove which component or release it belongs to. | Put project, part, face and revision in the file and proof. |
| Linked images are missing | The file opens with empty or low-resolution placeholders. | Package all links and verify the transferred folder. |
| Fonts are unavailable | Text can substitute, reflow or change spacing. | Agree on outlined text or provide licensed font access and a PDF proof. |
| RGB artwork is sent for an undefined print workflow | Color conversion happens without an agreed output condition. | Ask the printer to confirm the color workflow and approve a physical sample. |
| White ink is only shown as white on screen | The RIP may treat it as empty substrate instead of a printed layer. | Create a separate named white layer using the printer's convention. |
| Placement is shown only by eye | The image can shift or rotate between proofs and production. | Dimension the print from a repeatable part datum. |
| One file contains every SKU with unclear visibility | The wrong layer can be printed on a batch. | Release explicit production files and an artwork matrix. |
| Old and new revisions share one active folder | An obsolete graphic may return during a repeat order. | Archive superseded files and issue one active release package. |
9. Artwork preflight checklist
Use this list before requesting a sample or final quotation:
- The editable master opens without missing links or unexpected substitutions.
- Every printed component has a part number, CAD revision and face ID.
- Logos, icons and small text are vector where the design permits.
- Raster images are supplied at original quality with final print dimensions.
- Spot colors, process colors, white ink and clear ink are named and separated.
- Non-printing guides cannot be mistaken for production artwork.
- Placement drawings include orientation, dimensions and a repeatable datum.
- The artwork matrix covers every part color, face, SKU and quantity.
- PDF proofs match the editable files and carry the same revision.
- The sample plan defines color, position, registration, opacity, adhesion and wear approval.
- The signed decorated sample is linked to the released production files.
- The purchase order defines how later artwork changes will be approved.
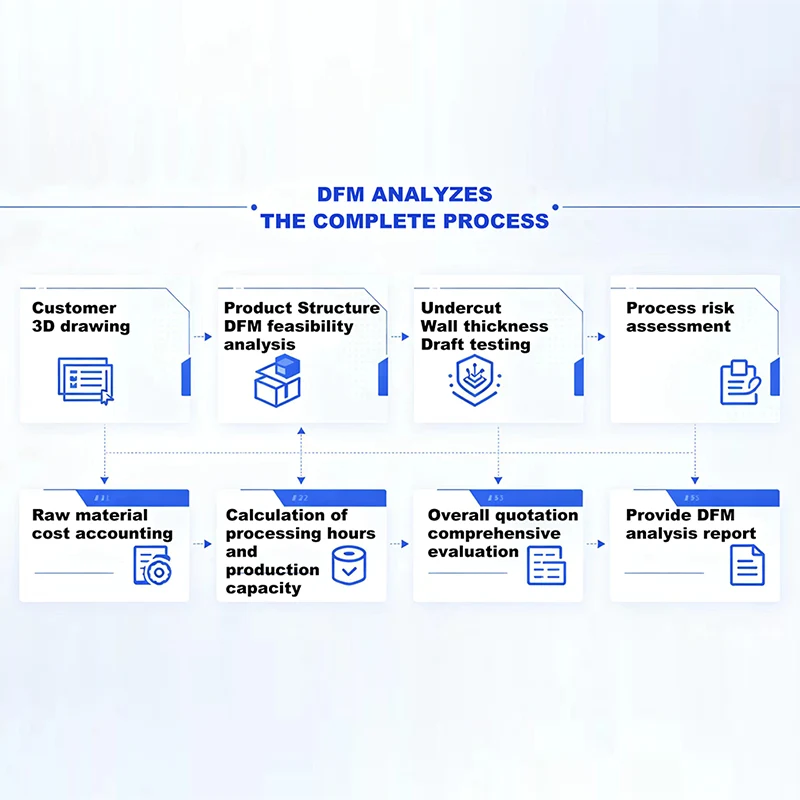
The DFM analysis and cost estimation service can review the print zone while the component geometry is still editable. That timing matters. Moving a raised rim, gate witness or locating feature before tooling is usually simpler than rebuilding the artwork and fixture after sampling.
10. Frequently asked questions
Is a PDF enough for printing board game components?
A PDF is useful as a locked visual proof, but it may contain vector artwork, raster images or flattened content. Supply the editable source file and linked assets as well. The supplier can then inspect colors, layers, paths and image quality instead of rebuilding the design from the PDF.
Should text be converted to outlines before sending artwork?
Ask the printer which version it needs. Outlined text avoids a missing-font substitution, but it is harder to edit. A safe package keeps an editable master and includes a production copy with outlined text when requested, plus a PDF proof for comparison.
What image resolution is required for UV printing?
There is no single resolution that suits every part and printer. Raster quality depends on the pixel dimensions at final print size, viewing distance, image content and output settings. Send the original image and final printed dimensions, then ask the supplier to confirm effective resolution before approval.
How should white ink or clear varnish be shown in the artwork?
Put white ink and clear varnish on separate, clearly named spot-color layers. State the intended print order and coverage in the artwork specification. The exact swatch names and layer setup depend on the printer's RIP workflow, so confirm them before final export.
Can the same artwork file be used on different game-piece shapes?
The design can be reused, but the production artwork may need a different size, distortion adjustment, print boundary or fixture reference for each shape. Give every component and printed face its own artwork ID and placement proof.
Review the artwork and molded part together
Send the editable artwork, PDF proof, CAD files, material, quantities and intended printing process for a production review.
Send your project files