Pad printing is usually the better starting point for a small spot-color mark on a curved pawn or irregular miniature. UV digital printing is often stronger for flat tokens, accessory panels and artwork with gradients or many colors. That shortcut is useful, but it is not enough for production. The right choice also depends on print height variation, resin grade, fixture design, color approval, wear exposure and how often the artwork changes.
Quick answer
Choose pad printing when the image is compact, uses a limited set of spot colors and must transfer onto a curved, recessed or irregular surface. Choose UV digital printing when the printable area is flat or compatible with the available machine, and the artwork needs full color, gradients, fine tonal detail or frequent version changes. Do not approve either process until the supplier has printed the final artwork on the production resin and passed an agreed adhesion and wear plan.
1. How pad printing and UV digital printing differ
Pad printing transfers an etched two-dimensional image from a plate to the part with a flexible silicone pad. The pad can compress and roll across a three-dimensional surface, which is why the process works well for small graphics on many curved or irregular objects. Each printed color normally needs its own image plate, ink preparation and controlled registration step.[1]
UV digital printing sends ink droplets directly from a digital file to the component and cures the deposited ink with ultraviolet energy. It removes the need for a separate printing plate and supports full-color images, gradients and digital artwork changes. Conventional flatbed systems still favor flat or mildly curved print zones. Newer high-throw equipment can tolerate more height variation, but the practical limit remains machine- and application-specific.[2]
Kingke lists both methods within its UV printing and surface finishing services. That makes it possible to compare decoration methods after the molded geometry, material and artwork have been reviewed together.
A digital process may shorten artwork setup, but it does not remove the need for a stable fixture, surface preparation, ink compatibility, cure control or sample approval. Pad printing has more physical setup, yet it may produce the cleaner result on a difficult shape.
2. Pad printing vs UV printing decision matrix
| Decision factor | Pad printing | UV digital printing | What the buyer should verify |
|---|---|---|---|
| Part geometry | Well suited to small graphics on many curved, recessed and irregular parts. | Best on flat or controlled surfaces; usable curvature depends on the printer and fixture. | Request a print-area review on the actual 3D model or molded sample. |
| Artwork type | Strong fit for logos, symbols, numbers and solid spot-color graphics. | Strong fit for CMYK artwork, gradients, textures and fine tonal changes. | Submit the final production file, not only a rendering. |
| Color build | Each color is separated and registered through the pad-printing setup. | Multiple process colors can be printed from one digital artwork file; white and varnish layers may be available. | Approve opacity, color sequence and appearance on the final base color. |
| Changeovers | Artwork changes can require new plates and fresh setup. | Digital files make version changes and mixed artwork easier to manage. | Define the number of SKUs and artwork revisions in the quotation. |
| Large repeat orders | Can be efficient for stable, repeatable graphics after setup. | Can also scale, but throughput depends on coverage, passes, fixture capacity and print mode. | Compare quoted cycle assumptions, labor and rejected-part risk. |
| Small or versioned orders | Plate and color setup can represent a larger share of the job. | Often avoids plate-making and handles changing files more easily. | Ask for the total decorated-part price, not just the print price. |
| Raised or recessed features | The pad may conform around modest features if access and deformation are controlled. | Height changes can alter drop placement and sharpness. | Mark the print boundary and minimum clearance from edges or relief. |
| Durability | Neither process wins by name. Ink, substrate, pretreatment, cure, coverage and use conditions control the result. | Approve adhesion and wear on production-equivalent samples. | |
The matrix gives a first direction, not a final process release. A shallow round token and a tall pawn may carry the same icon, yet they present different transfer and fixture problems. Treat each component as a separate print surface before combining it into one quotation.
3. Geometry decides what the artwork can become
The production question is not whether the whole component is curved. It is whether the intended print zone stays within the process window. A pawn may have a small, nearly flat base even though its body is strongly curved. A token may look flat but contain a raised rim that blocks a printhead or prevents a pad from rolling cleanly.
For pad printing, check the pad's path
The silicone pad must pick up the image, reach the print area and release the ink without sliding or trapping air. Deep recesses, sharp walls and nearby projections can prevent full contact. A very soft pad may conform to the shape but distort the image. A harder pad may hold detail better but fail to reach the surface. The supplier should select the pad shape and hardness after reviewing the component, not from artwork size alone.
Multi-color graphics add another constraint. The fixture must return the part to the same position for each color. On a small curved piece, a small rotational error can show as visible color misregistration near an edge or line of text.
For UV printing, map height variation across the image
Inkjet drop placement changes as the surface moves away from the printhead. Curvature can soften edges or distort an image because different parts of the graphic sit at different heights. Equipment designed for greater jet distance can expand the usable range, but that capability must be confirmed for the specific printer, ink and quality requirement.[2]
Ask the supplier to show the print boundary on the 3D model. If the image crosses a chamfer, rib or rounded corner, divide it into zones or move it before sampling. This simple overlay prevents the artwork team from approving a layout that the machine cannot reproduce sharply.
4. Match the process to the artwork, not the mockup
A rendered image can make a small graphic look easy. Production artwork must answer harder questions: Is the color solid or tonal? Does it need a white underbase? How close does it sit to an edge? Which direction is "up" after the part enters the fixture? Is a tiny line still printable after the image follows a curve?
Choose pad printing for controlled spot-color graphics
Pad printing is a practical option for compact logos, icons, numbers, eyes and repeated symbols. Spot-color inks can be prepared toward approved color references, but a second or third color increases setup and registration work. Thin gaps, reversed text and fine outlines need a production proof because the etched plate, pad deformation and ink transfer all affect the final edge.
Choose UV digital printing for continuous-tone artwork
UV digital printing is usually the better candidate for gradients, photographic detail, textured backgrounds and images built from many colors. It also makes versioned artwork easier. A game can use the same token body with different character portraits or resource symbols without creating a separate physical plate for every image.
Full color does not guarantee a match to a printed box or molded Pantone part. CMYK artwork, white ink, varnish, substrate color and gloss all influence appearance. Approve the decorated part next to the relevant packaging and molded components under agreed viewing conditions. Do not judge the result only from a monitor.
The resin supplies the base color. Ink adds a second color system on top. Record both approvals, including the resin grade, surface texture, artwork revision, ink system and any white or clear layer.
5. Material and surface preparation can reverse the choice
A process that prints well on one plastic may fail on another. Surface energy, mold release, texture, contamination and additives affect how ink wets and anchors to the part. Polypropylene and polyethylene are low-surface-energy plastics, which makes wetting and bonding more difficult than on many engineered plastics.[3]
That does not mean PP cannot be decorated. It means the production system may need a compatible ink, primer, flame treatment, corona treatment or another validated preparation step. The exact route depends on the resin grade and ink supplier. Kingke's guide to ABS versus PP for board game components explains why the substrate should be selected with decoration and function in mind.
Surface treatment is a controlled process, not a one-time rescue. Record the treatment method, settings and permitted delay before printing. Recheck adhesion if the resin grade, colorant, mold release, texture or ink changes. A sample made from an unidentified prototype material cannot approve the production combination.
Oil, dust, silicone contamination and excess mold release can reduce adhesion without creating a visible molding defect. Define cleaning and part-handling rules before the first decorated sample.
6. Compare total setup and changeover cost
Pad printing requires plates, pads, ink preparation, color setup and registration. Once the setup is stable, it can suit repeat orders with the same compact artwork. UV digital printing removes the etched plate and can change artwork through the production file, which often helps projects with shorter runs, several SKUs or frequent visual revisions.[1]
There is no reliable universal order quantity at which one process becomes cheaper. The crossover changes with image area, color count, number of sides, fixture capacity, ink coverage, print passes, operator time, reject rate and how many artwork versions share the same molded part.
For a useful cost comparison, ask both processes to quote the same project definition:
- The same molded component and resin grade.
- The same artwork size, sides, colors and coverage.
- The same order quantity and number of SKUs.
- The same adhesion, appearance and wear requirements.
- The same inspection, packing and replacement assumptions.
- Separate one-time setup costs from recurring unit costs.
A lower print price can disappear if the process requires extra handling, more rejected components or a separate protective coating. Compare the finished approved component, not the machine rate.
7. Approve adhesion and wear with a written test plan
"Scratch resistant" is not an acceptance standard. It does not identify the contact material, force, stroke count, conditioning, inspection method or failure limit. A good approval plan starts with the way players and packers will handle the component, then turns that use into repeatable checks.
| Risk | Practical sample check | What to record | Common mistake |
|---|---|---|---|
| Initial adhesion | Use an agreed tape or cross-cut method only when it suits the ink film and part geometry. | Conditioning time, cuts, tape, removal method, location and rating. | Calling any office-tape pull an ASTM test. |
| Handling abrasion | Rub or cycle the printed area with a defined contact material and load that reflects use. | Contact material, force, cycles, path, endpoint and visual standard. | Comparing samples tested with different cloths or pressure. |
| Edge lifting | Inspect print edges near corners, raised rims and flexing areas after conditioning. | Part orientation, magnification and allowed edge condition. | Inspecting only the center of the image. |
| Cleaning exposure | Use only the cleaning agents and contact time relevant to the product instructions. | Chemical, concentration, dwell time and number of cycles. | Using an undefined "chemical resistance" claim. |
| Assembly and packing | Run printed parts through the real stacking, bagging, tray or assembly sequence. | Pack style, contact points, transit simulation and observed transfer. | Approving loose samples that never touch neighboring parts. |
ASTM D3359 is commonly discussed for tape adhesion, but its published scope is for relatively ductile coatings on metallic substrates. ASTM also notes limits when the method is used on plastics and says operator technique, tape behavior and peel conditions affect results.[4] If a buyer and supplier use it for a plastic game part, they should agree on applicability and procedure instead of treating the standard number as a complete specification.
ASTM D4060 evaluates coating abrasion on a plane, rigid surface with a Taber Abraser.[5] That can help with suitable flat specimens, but it may not represent a small curved pawn or a token edge. For many game components, a documented product-specific rub and handling test is more representative. The acceptance criteria still need to be agreed before samples are made.
8. Starting recommendations by component type
These recommendations narrow the trial plan. They do not replace a printed production sample.
Pawns and shaped playing pieces
For a small icon, number or face on plastic board game pawns, pad printing is often the first process to evaluate. Its conformable pad can reach a compact area on a rounded form. If the pawn has a flat base or panel and the design needs tonal color, a UV test may also be reasonable.
Flat tokens and markers
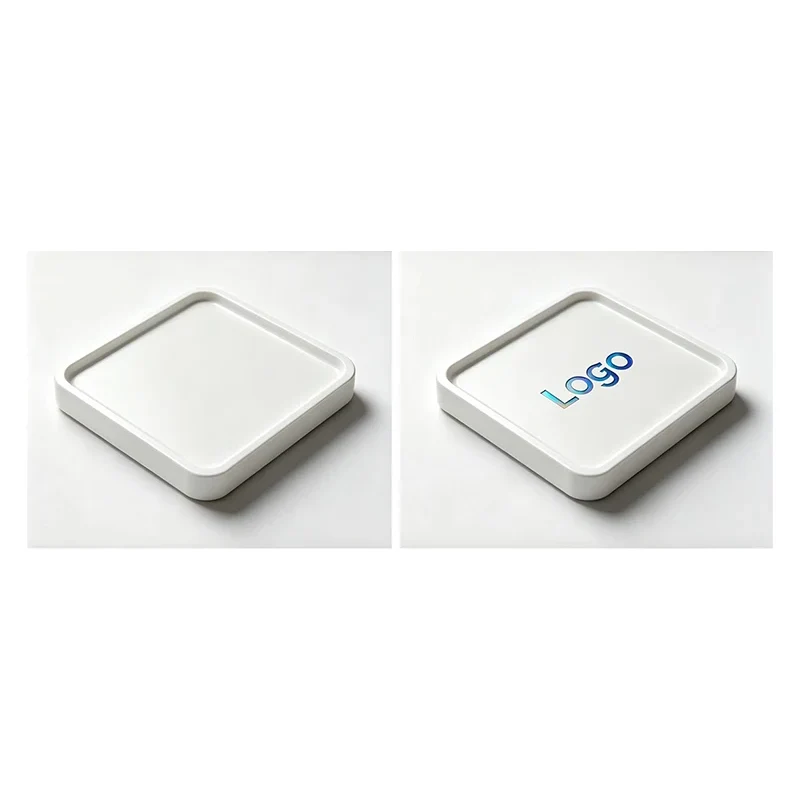
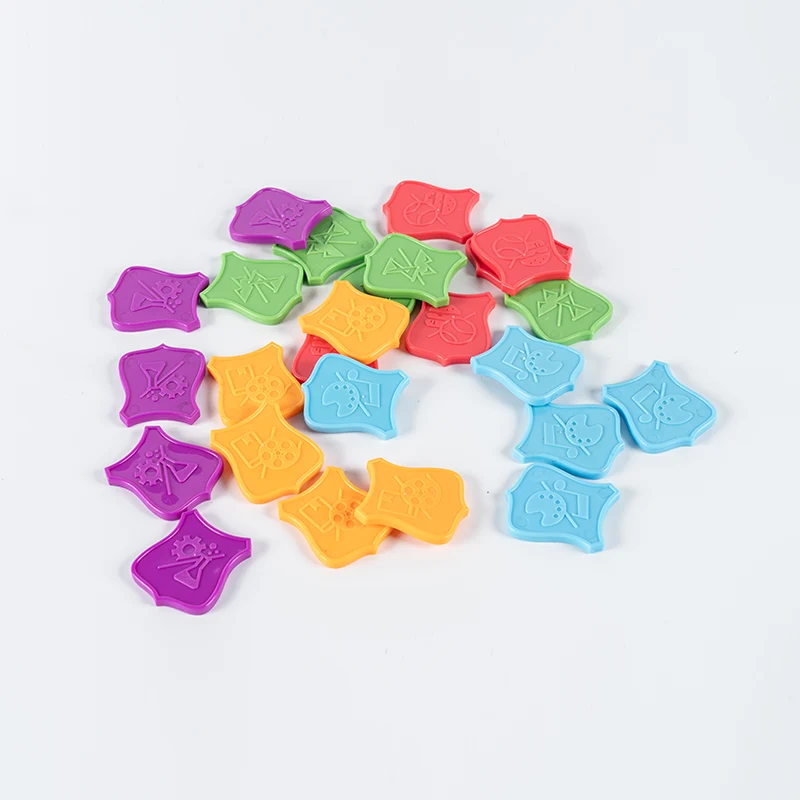
Plastic tokens are strong UV digital candidates when they have a broad flat face and several artwork variants. Check raised rims, edge chamfers and token flatness before setting the printable area. Pad printing can still be efficient for a simple one-color icon repeated across a stable production run.
Cubes, blocks and accessory panels
Flat faces make tabletop game plastic cubes and accessory panels suitable for UV evaluation, especially when each face carries full-color or versioned artwork. The fixture must orient the part consistently, and each additional side adds handling. Pad printing may be competitive for a small solid symbol on one or two faces.
Miniatures and action figures
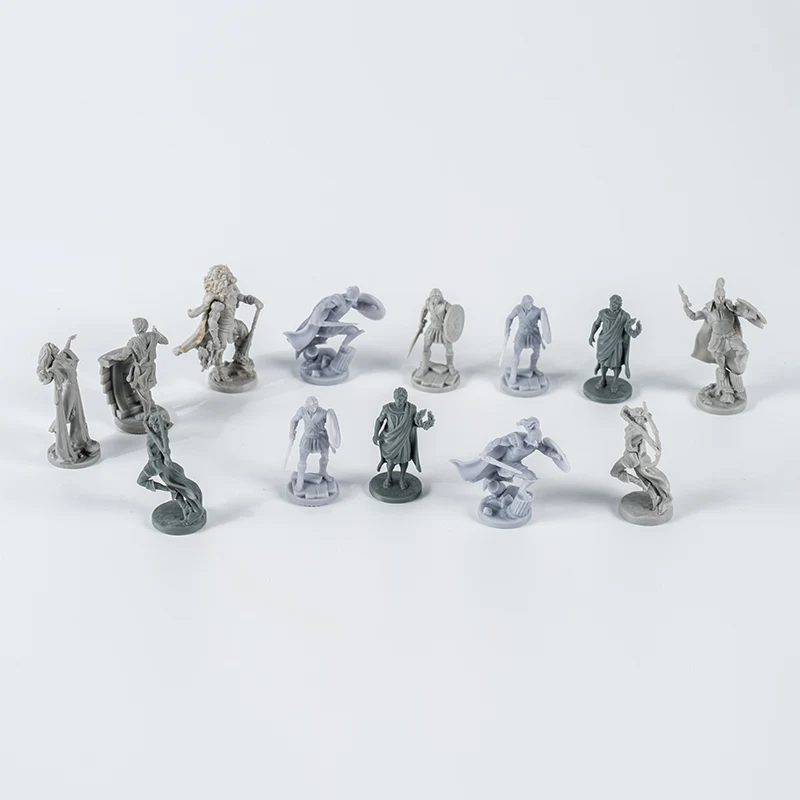
A small plastic action figure can contain deep recesses, undercuts and sudden height changes. Pad printing may reach selected facial or costume details, but the supplier must check access, pad deformation and fixture repeatability. A complex figure is rarely one continuous printable surface.
Card holders, trays and housings
Large flat branding zones on board game card holders, trays or storage housings can suit UV digital printing. For a large repeated solid-color mark on a flat area, screen printing may also deserve a quote. Kingke's screen and pad printing service page covers both analog routes.
9. RFQ and approval checklist
A printing quotation is only comparable when the supplier can see the part, artwork and approval target. Include the decoration brief with the molded-part RFQ instead of adding printing after the tool has been approved.
- STEP file and drawing for every printed component.
- Final resin family, exact production grade when selected, and molded base color.
- Vector artwork for spot colors and original high-resolution files for raster images.
- A PDF placement proof with dimensions, orientation and print boundary.
- Named color references, white underbase, clear coat or gloss requirements.
- Order quantity, SKU count, artwork variants and expected repeat pattern.
- Cosmetic zones, registration expectations and permitted edge condition.
- Cleaning, surface treatment, ink and cure records required for approval.
- Adhesion, rub, handling, assembly and packing tests with written pass criteria.
- Golden sample, artwork revision and change-control owner.
The DFM analysis and cost estimation service can review molded geometry and decoration access before tool design is locked. For projects with several plastic parts, the broader board game plastic components range helps identify which pieces can share a material, finish or printing workflow.
Retain one signed decorated sample, the final artwork, the molded-part revision, resin grade, surface preparation, ink system, cure method, test record and approved packaging arrangement. If any controlled item changes, review which approval tests must be repeated.
10. Frequently asked questions
Is pad printing always better for curved board game pieces?
No. Pad printing is a strong starting point for a small graphic on a curved or irregular part because the silicone pad conforms to the surface. Modern UV equipment can handle some curvature, but the usable print area depends on the machine, head-to-part distance, fixture and required sharpness. A print trial on the production geometry is the safest decision.
Is UV printing more durable than pad printing?
Neither process is automatically more durable. Wear depends on the resin grade, surface condition, pretreatment, ink system, cure, print location and handling. Compare decorated samples using the same agreed adhesion and wear tests instead of choosing by the process name alone.
Can polypropylene board game parts be printed?
Yes, but polypropylene is a low-surface-energy plastic. The final resin grade may need treatment, primer or a compatible ink system. Approve adhesion on molded production material and control the time between treatment and printing when the process requires it.
Which artwork files should be supplied for printed game parts?
Provide editable vector artwork for spot-color graphics when possible, the original high-resolution raster file for continuous-tone images, a PDF placement proof, named colors, dimensions and orientation. Keep decorative artwork separate from the 3D CAD file and identify the visible print boundary on the actual part.
Can one board game use both pad printing and UV printing?
Yes. A project can use pad printing for curved pawns and UV digital printing for flat tokens or accessory panels. Review the combined color appearance, handling requirements, sampling plan and packing sequence so both processes fit one approval system.
Choose the printing process before approving the tool
Send the 3D files, resin, artwork, quantities and wear requirements for a molding and decoration review.
Send your project detailsSources
- Inkcups: Pad Printing vs UV Digital Printing
- Inkcups: The Challenges of Inkjet Printing on Curved Surfaces
- 3M Science of Adhesion: Categorizing Surface Energy
- ASTM International: ASTM D3359-23, Standard Test Methods for Rating Adhesion by Tape Test
- ASTM International: ASTM D4060-25, Standard Test Method for Abrasion Resistance of Organic Coatings by the Taber Abraser