For a new board game, our recommendation is to put a written question beside every sample order. "Can players distinguish these pieces across the table?" is a useful question. "Make it look finished" leaves too much open. The method, finish and quantity should follow the question.
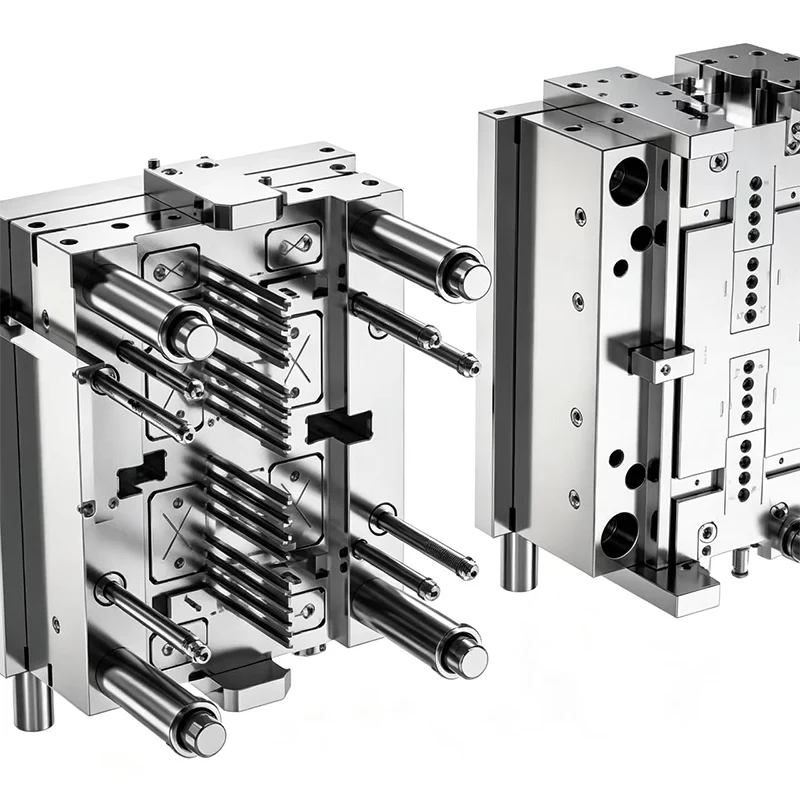
Use 3D printing while the shape, scale or gameplay interaction still needs physical review. Consider rapid prototype tooling when an injection-molded sample can settle a material, assembly or molding question before the production-tool investment. Move into a production mold when the product definition and DFM decisions are stable. Each route produces a different kind of evidence, so approve samples for a stated purpose and carry those decisions into the next stage.
What each route can prove
Kingke offers 3D printing rapid prototyping using FDM and SLA, with material options and post-processing. Its rapid prototype tooling service covers simplified mold development and sample injection molding for appearance, assembly and structural verification. Its plastic injection mold service includes custom mold configurations, mold testing and sample validation.
These routes answer related questions, but a result from one route has a limited scope. Keep that scope visible when deciding what to approve.
| Route | Useful next decision | Evidence to collect | What still needs a later check |
|---|---|---|---|
| 3D printing | Choose size, silhouette, handling, component spacing or an assembly concept. | Playtest observations, fit checks and a record of the printed material and finishing. | The final molded material, mold marks, production color and behavior of the production tool. |
| Rapid prototype tooling | Review a molded part before committing to the full production-tool proposal. | Trial material, tool revision, molded dimensions, appearance, assembly and any secondary work. | Differences between this tool and the production mold, including cavities, cooling, ejection and decoration setup. |
| Production mold | Approve the intended tool and its output for the agreed manufacturing plan. | Identified samples from the actual cavities, final material and finish, fit results and recorded corrections. | Production consistency over the agreed run and inspection plan. |
A fully painted prototype can be excellent for a publisher meeting. Keep a separate sample for dimensions and fit if the paint or finishing differs from the intended production route. Otherwise, the same object may become the reference for requirements it was never made to demonstrate.
When 3D printing earns its place
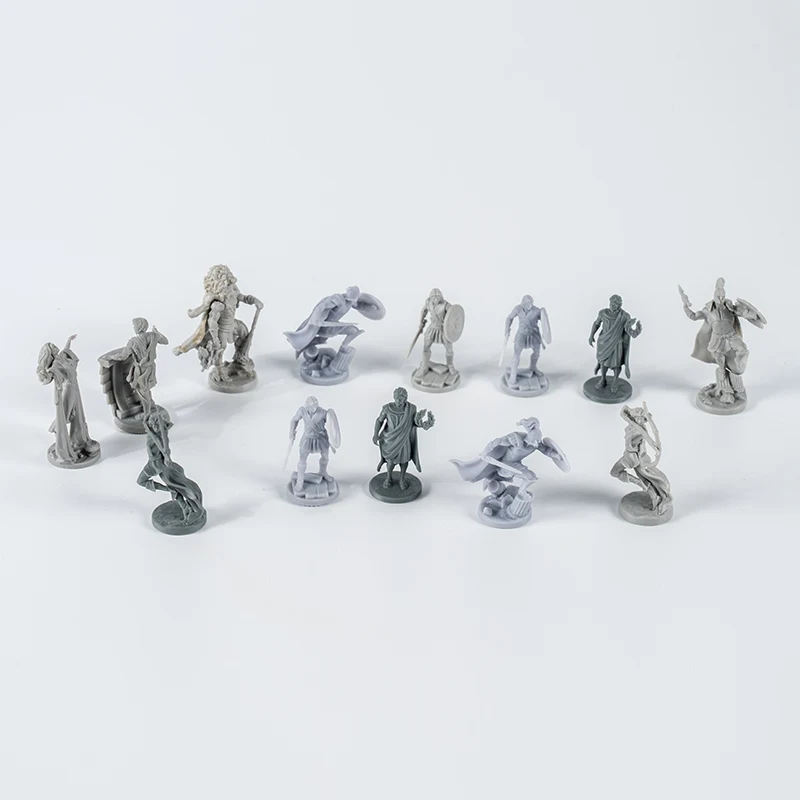
Printing is a sensible first choice when you expect to change the component after holding it or playing with it. A render cannot settle whether a pawn obscures a board space, whether a token is easy to pick up from a crowded area or whether two faction silhouettes are distinct enough at playing distance.
Kingke's service page lists FDM for structural and test samples and SLA for samples with detailed appearance requirements. It also lists sanding, polishing, coloring, painting and assembly. Choose the finish according to the review: leave inspection surfaces identifiable for a fit check, and request display finishing where visual presentation is the purpose.
Ask for alternative geometry when the choice is still open
If you are deciding between a broad pawn base and a narrow one, compare both on the actual board. Keep the upper shape and intended playing position the same so the comparison answers the base question. A single finished sample encourages a yes-or-no reaction; alternatives help you choose a direction.
For custom plastic pawns, that comparison might concern the base, pose or proportions. For a card holder, it might concern support angle and access to the card edge. Record what players do, such as tipping a figure while moving another piece, rather than collecting only comments about appearance.
Keep material approval separate from shape approval
Kingke's printing page offers materials including PLA, ABS, PETG, resin and nylon. The material choice belongs in the sample request. If production is planned in ABS, an SLA resin sample can still help with appearance, but it has a different material and process identity.
Approve the silhouette, placement and physical arrangement that the printed sample demonstrates. Carry material-dependent requirements into a sample made with the intended production specification. The word "approved" should always say what was approved.
Separate the display sample from the inspection sample
Request a finished reference for photography and an identifiable sample for measurement and fit when their preparation differs. Record any sanding, painting, manual adjustment or assembly work. That lets the production team reproduce the intended result without mistaking hand finishing for a molded requirement.
When a molded trial justifies prototype tooling
Consider prototype tooling when the remaining question requires an injection-molded part. You may have settled the shape but still need to review a token's molded surface, the fit of an assembled accessory or the final feel of a pawn in the proposed material.
Kingke's rapid tooling service describes appearance, assembly, structure and feel as verification tasks. Make those tasks specific in the request. "Check assembly" should identify the mating parts, insertion direction and acceptance condition.
Before ordering the tool, ask the supplier to identify what the trial will share with production:
- The current CAD geometry and any changes made for molding.
- The proposed material grade and molded color.
- Gate, parting and ejection locations that matter to appearance or function.
- The finish and decoration operations included on the samples.
- The mold features that will change for production.
A successful trial is useful evidence about that geometry, material and tool setup. When the production proposal changes the cavity arrangement or another mold feature, review the affected decisions again. The earlier sample remains useful, but it cannot describe a mold that has not yet produced it.
This is where DFM analysis and cost estimation adds context. Kingke's review scope includes wall thickness, draft, undercuts, air trapping, deformation and assembly, as well as mold cavity layout, cooling and ejection. Use the DFM findings to decide which uncertainty the molded trial must resolve.
When to move directly to a production mold
A project can move into production tooling when its remaining decisions are well defined and the mold proposal addresses them. That may be appropriate for an established component whose geometry and use are already approved, provided the material, finish, decoration and manufacturing requirements are also settled.
Our view is that a separate prototype mold should earn its place by answering a question that affects the production investment. If you cannot name that question, compare a direct production-tool route with its planned trial and correction process.
Kingke's mold service includes testing and sample validation. Its high volume injection molding service describes material selection, mold setup, process adjustment, inspection and packaging within its production scope. A production-tool approval should connect to that manufacturing plan.
Confirm the component quantities and color mix, identify the proposed cavities and define how their samples will be checked. A part from one cavity can establish a reference, while the other cavities still need their own review. Keep sample identity with the inspection results.
Use the DFM checklist for board game components to close product and tooling decisions before this commitment. Prototype selection and DFM solve different parts of the project: the sample supplies physical evidence, and DFM connects the design to the proposed manufacturing method.
A sample approval sequence that carries evidence forward
Choose only the stages that close remaining decisions. A project with unsettled gameplay may need several printed revisions. Another project may already have the physical design approved and move into molded samples. Use the following sequence to keep each approval precise.
-
01 / DESIGN
Does the component work in the game?
Review scale, silhouette, player handling, board spacing and assembly concept.
Use a printed sample when the physical design still needs revision.
Carry forward: approved geometry and a record of unresolved material or finish questions.
-
02 / MOLDED PART
Does the proposed molded part meet the requirement?
Review the material, molded geometry, fit, surface and planned decoration.
Use prototype tooling when an early molded trial supports the investment decision.
Carry forward: sample conditions, accepted results and differences to the production-tool proposal.
-
03 / PRODUCTION TOOL
Does the actual tool produce acceptable pieces?
Review identified cavities, final material and finish, component fit and inspection results.
Use samples from the intended production mold.
Carry forward: the approved sample reference and the agreed production inspection criteria.
Choose sample parts by the remaining risk
A full set is useful for gameplay. A focused sample group can be more useful for a manufacturing decision. Choose the parts that exercise the unresolved requirement, then expand the review to the complete set when its interactions need checking.
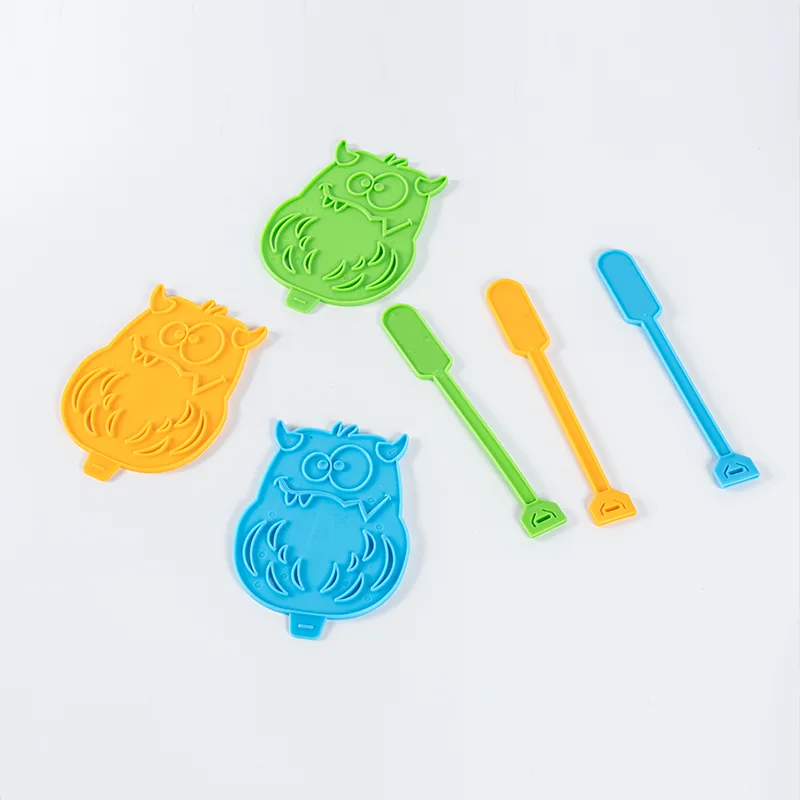
For custom board game plastic components, build that group around the job of each part. A standing figure tests a different interaction from a broad printed token or a storage accessory.
| Remaining question | Useful sample choice | What to put beside the sample |
|---|---|---|
| Pawn handling and standing | The pose and base that are still in question. | The actual board space and neighboring pieces. |
| Token pickup, flatness or stacking | The proposed token shape and thickness. | A stack, the playing surface and the intended decoration reference. |
| Card-holder fit | The holder geometry under review. | The intended cards, including sleeves if they are part of the requirement. |
| Tray or box fit | The accessory and the components it must hold. | The actual insert or its controlled dimensional reference. |
| Printing placement | A part with the final print zone and orientation features. | Artwork at final size and an approved placement proof. |
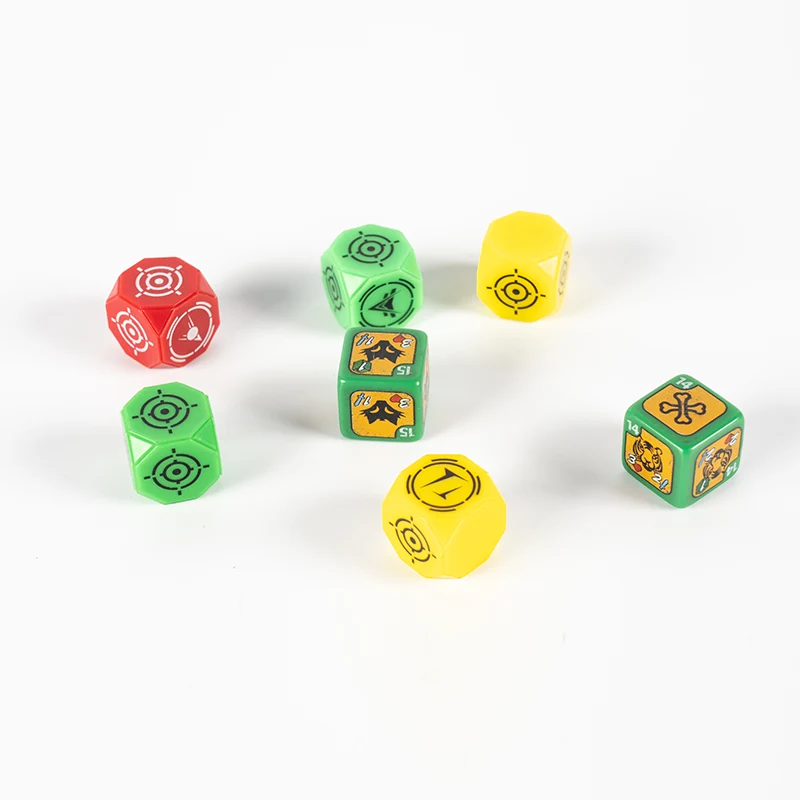
Kingke's plastic token page lists custom shape, size, thickness, color and printed content. Decide which of these is open before sampling. If the only question is artwork placement, changing the token geometry at the same time makes the result harder to interpret.
Two projects can need different routes
A new pawn whose base size is still open
Suppose a designer has selected the character shape but is choosing a base that fits a crowded board. Print the candidate bases with the same upper geometry and compare them in play. Approve the chosen base and update the CAD revision.
Next, review the revised model through DFM. If a remaining material or molding question needs physical evidence before the production commitment, request a molded trial targeted at that question. The initial comparison has already done its job: it established the geometry the tooling review should use.
An established token with new artwork
Suppose the token geometry is already approved, and the new edition changes only the printed design. Start with the current CAD, material specification and existing sample reference. Assess artwork size, orientation and production printing access on that component.
A decorated sample using the intended part and print route answers more than another printed shape would. Use the artwork preparation guide to define the graphic and placement proof. Revisit tooling only if the new design also changes molded details or another manufacturing requirement.
Both routes follow the same judgment: spend the next sample budget on the open decision. The number of stages can differ because the starting evidence differs.
Compare the whole development cost
A sample quote covers one activity. Your development budget also includes later tools, corrections, decoration and any verification repeated after changes. Compare route proposals on that complete scope.
Kingke's DFM and estimation service lists mold, molding, materials, surface treatment, assembly, packaging, logistics and testing in its cost scope. Use these categories to build comparable proposals for printing, prototype tooling and production tooling.
- Specify what the first quote includes and the decision its samples must answer.
- Identify which paid work carries into the next stage.
- Describe how design revisions affect the quote and sample schedule.
- Compare proposals using the same geometry, material and decoration assumptions.
- Include the intended production quantities and component mix when reviewing the final tool.
Prototype tooling can be a sensible expense when the result changes a major design or investment decision. It can also duplicate work when the product is settled and the production mold needs a different construction. Ask for both route proposals when that tradeoff is unclear.
One useful question for the supplier is: "Which work in this proposal can we reuse, and what must we pay for again?" The answer should distinguish retained CAD data from reusable hardware and from a tool that can continue producing the required quantity.
What must transfer into production
Retaining a CAD file and continuing to use the same physical mold are different arrangements. Put the intended transfer in the tool proposal: an ongoing trial tool, reusable inserts, or a new production mold based on the approved design.
For each approved sample, carry forward its purpose, part ID, CAD revision, material, finishing record and acceptance result. Where the next stage changes a condition, identify which check must be repeated.
| Approved item | Carry into the next stage | Recheck when |
|---|---|---|
| Geometry and gameplay | The released CAD and the actual playtest conditions. | The shape, base, mating feature or surrounding game component changes. |
| Material and fit | The specified material and the mating parts used for the review. | The material, geometry or relevant molding setup changes. |
| Appearance and decoration | The surface reference, artwork, orientation and finishing record. | The finish, color formulation, decoration process or print zone changes. |
| Molded result | The trial tool identity, gate and ejection locations, and recorded observations. | The production tool uses a different configuration. |
| Production approval | Identified cavity samples and the agreed inspection criteria. | The tool, product definition or agreed production conditions change. |
Prepare the file package using the CAD file guide for board game pieces. Keep the reviewed model, drawings, component quantities and artwork on the same active revision.
Before ordering your next sample, finish this sentence: "If this sample passes, we will approve ___." The answer tells you what evidence the sample needs to provide and whether printing, a molded trial or production-tool samples are the right next step.
Frequently asked questions
Should I 3D print board game pieces before making a mold?
Choose 3D printing when size, shape, handling, assembly or the component layout still needs a physical review. If those decisions are already settled, assess the remaining molding questions through DFM and choose whether prototype tooling adds useful evidence before the production mold.
What is the difference between prototype tooling and a production mold?
Prototype tooling provides an injection-molded sample route for design verification or trial quantities. A production mold is specified for the planned manufacturing requirement. Compare the actual cavity arrangement, material, finish, runner, cooling, ejection and maintenance scope rather than relying on the tool's name.
Can a printed prototype approve the final material and color?
A printed or painted prototype can establish an appearance direction. Approve the final molded material and color on a sample with the agreed production material, color formulation and finish. Keep the printed reference and molded reference identified by their separate approval purposes.
Does every board game project need prototype tooling?
No. Prototype tooling is useful when a molded sample can resolve an important decision before a larger tooling commitment. When the geometry, material, decoration and mold concept are settled, a separate prototype tool may repeat work. Choose the route from the remaining questions and the supplier's actual proposals.
Can a prototype mold become the production mold?
Confirm that in the tooling proposal. Continuing with the same physical tool, reusing selected inserts and carrying CAD data into a new mold are different arrangements. Specify what transfers and which features must be reviewed or rebuilt for the production requirement.
Choose a sample route for your game components
Send the current CAD, component list, intended material and finish, planned quantities and the questions your samples need to answer. Kingke can review the available prototyping and tooling routes for your project.
Discuss your prototype project