
Quick answer
Custom board game components are made by four main routes: plastic injection molding, resin casting, 3D printing and die-cutting. Injection molding gives the lowest cost per piece and the most repeatable quality, but it only makes sense once you commit to tooling. Your decision comes down to three things — how many units you need, how much fine detail your pieces carry, and whether your budget can absorb a mold up front. This guide walks through each route, the real cost structure, material choices, decoration methods, and exactly what a manufacturer needs from you before quoting.
1. What Counts as a Board Game Component
Designers usually arrive with one part in mind — the miniature — and then discover the box needs eleven other plastic items. It helps to map the whole bill of materials early, because parts that share a material and a colour can often share a mold.
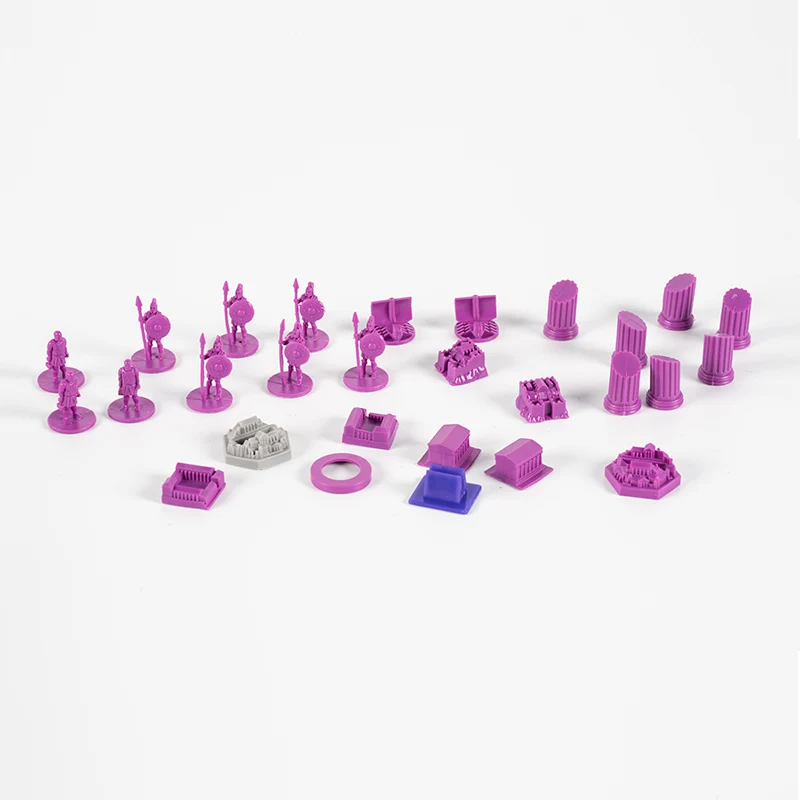
Most tabletop projects draw from the same families of board game plastic components:
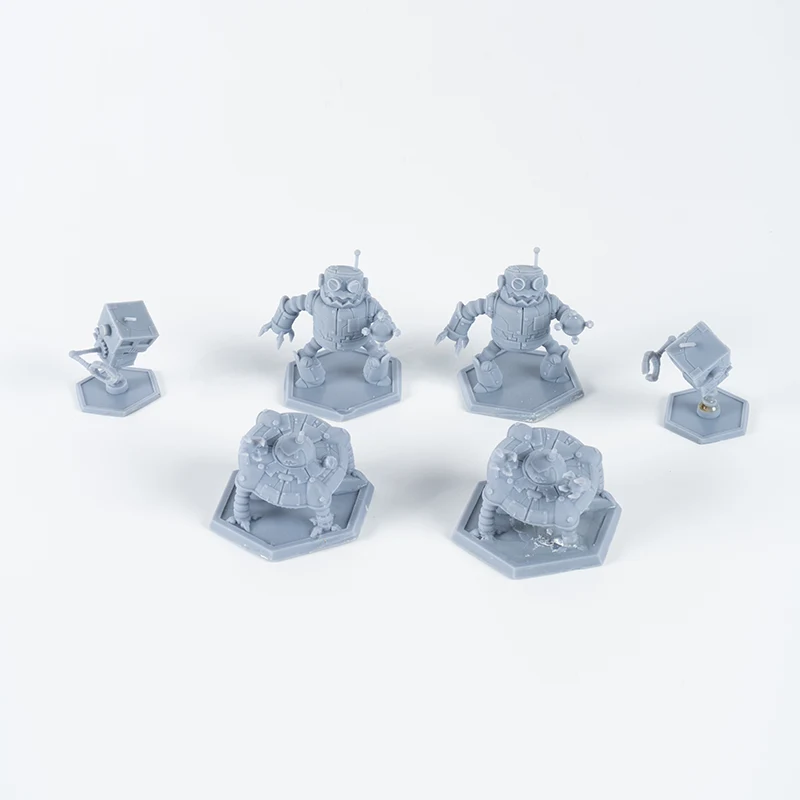
- Figures and miniatures — sculpted characters, creatures, vehicles. Highest detail demand in the whole box.
- Meeples, pawns and standee bases — simple geometry, high quantity, often six or eight colours of the same shape.
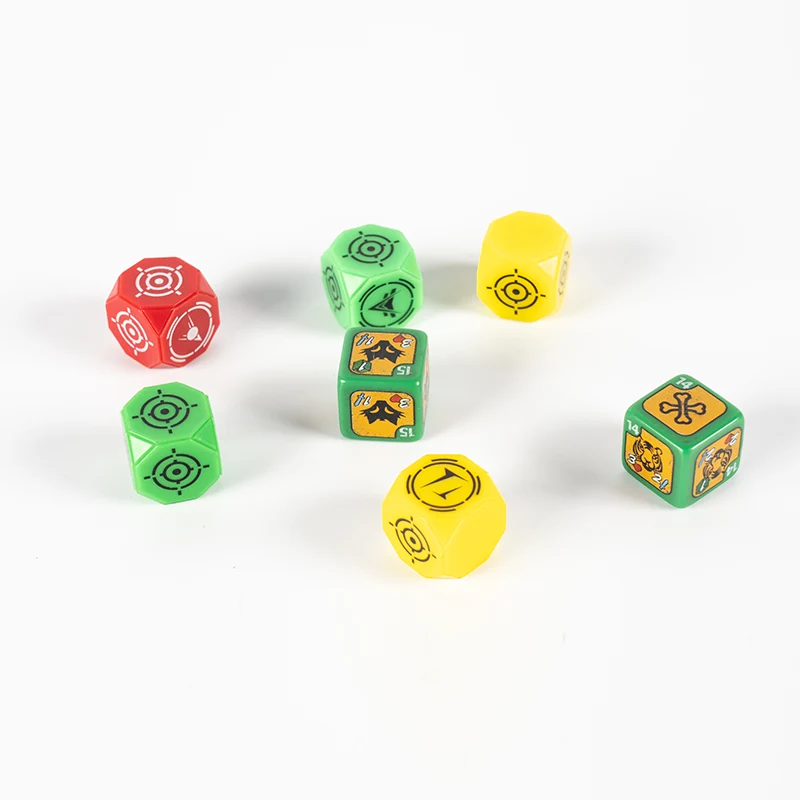
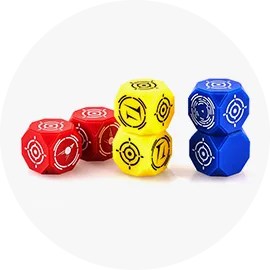
- Tokens, markers and resource cubes — small, fast-cycling, frequently run in multi-cavity tooling.
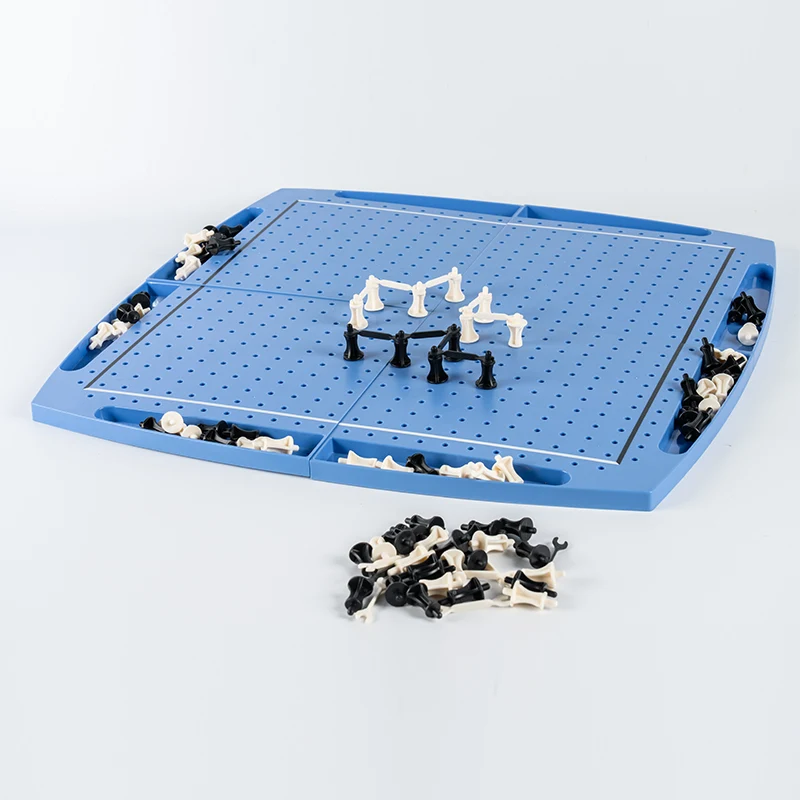
- Dice trays, towers and rolling surfaces — larger shells where wall thickness and warpage matter more than fine detail.
- Card holder bases and brackets — parts with a functional slot tolerance. Too tight and sleeved cards will not seat; too loose and they fall over mid-game.
- Inserts, trays and organizers — large, thin-walled, dimensionally fussy because they have to fit an existing box footprint.
- Props and thematic set pieces — screens, dials, buildings, ships.
Collectible figure work sits close by. If your game ships a deluxe painted figure or a character line sold separately, the process overlaps heavily with plastic parts for cartoon figures — same tooling logic, stricter cosmetic grading.
2. The Four Manufacturing Routes — and When Each One Fits
There is no universally correct route. There is a correct route for your quantity, your detail level and your funding schedule. Here is how board game component manufacturing options compare in practice.
| Route | Best suited to | Tooling needed | Detail capability | Cost behaviour |
|---|---|---|---|---|
| Injection molding | Production runs and any title you expect to reprint | Yes — a steel or aluminium mold | High, and identical on every shot | High one-time tooling, then the lowest unit cost of any route |
| Resin casting | Display models, tiny batches, deluxe add-ons | Soft silicone mold with a short working life | Very high, but each cast is hand-finished | Low setup, high labour per piece; cost barely falls with volume |
| 3D printing | Prototypes, sculpt approval, single-digit quantities | None | Excellent on resin printers, layered on filament | No setup, highest per-piece cost, no economy of scale |
| Die-cutting | Flat cardboard chits and punchboards | A cutting die | Two-dimensional only | Very low throughout, but cannot produce a three-dimensional piece |
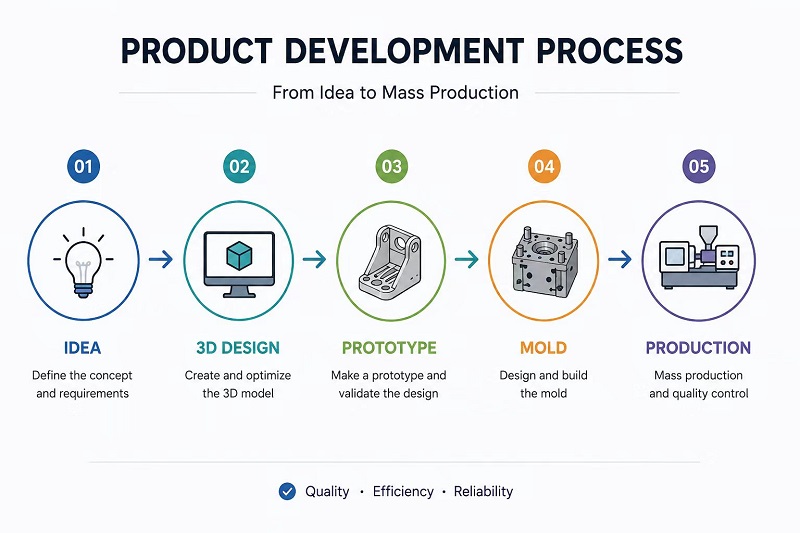
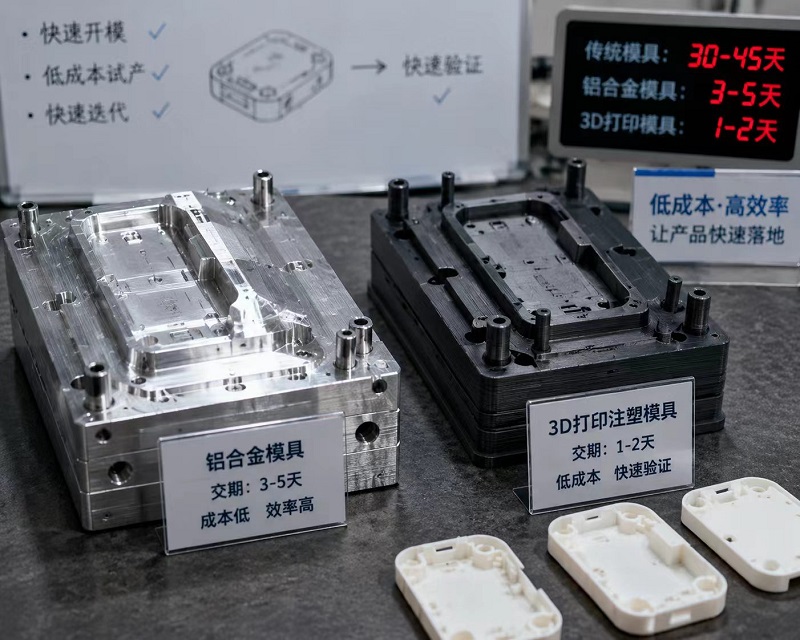
In practice most funded projects use two or three of these in sequence rather than choosing one. You print to approve the sculpt, cast a handful for photography and convention demos, then cut steel for the print run. That sequence is normal and we plan for it.
If you will reprint the game, tool for it now. Designers who avoid tooling on a first run to protect cash flow often pay for that decision twice — once in inflated unit prices on run one, and again when the reprint finally forces the mold anyway.

3. How a Component Actually Gets Made: Seven Stages
This is the sequence we run for every board game miniature manufacturing project. Nothing here is exotic. What separates a smooth project from a painful one is how much thinking happens in stages one and two.
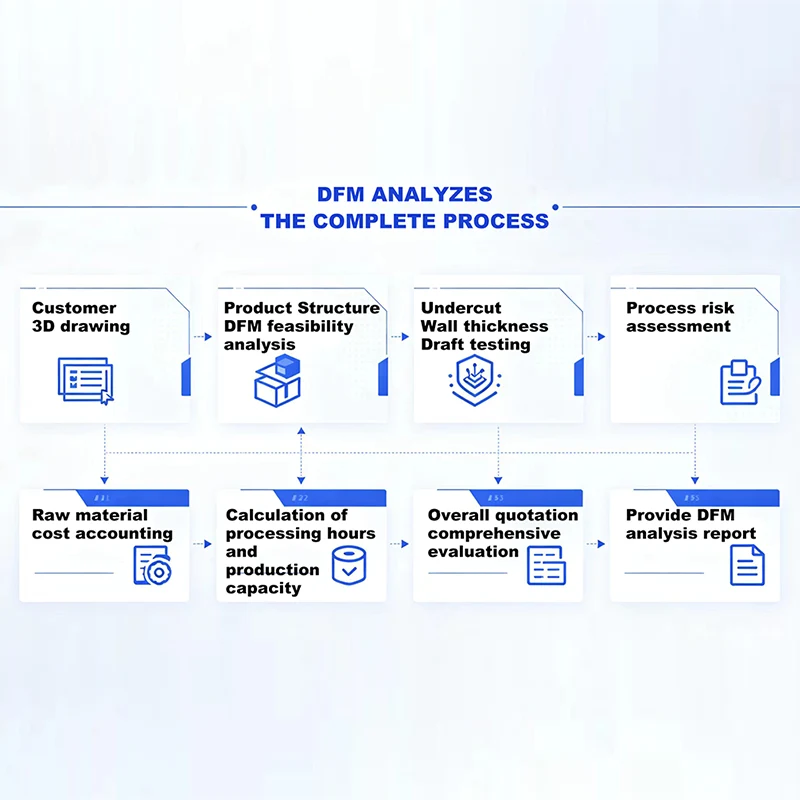
- Design review and DFMEngineers read your model for manufacturability: wall thickness consistency, draft angles, undercuts, rib strength, likely sink and weld line positions. This is where cost gets decided. Our DFM analysis and cost estimation service produces a written report rather than a verbal opinion.
- 3D model optimizationThe sculpt is adjusted for molding without losing the look — splitting a pose into two parts to remove an undercut, thickening a sword blade that would not fill, adding a hidden parting line. See 3D model optimization.
- PrototypeA 3D printed sample goes out for approval. Hold the piece. Check the scale against your board and your card sleeves. Changes are almost free at this point and expensive after step four.
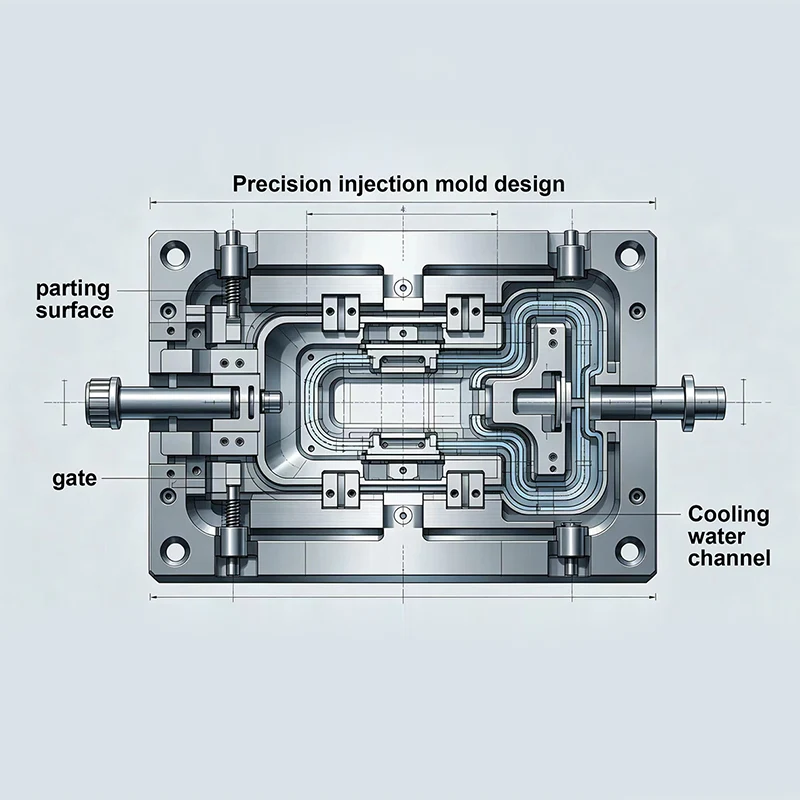
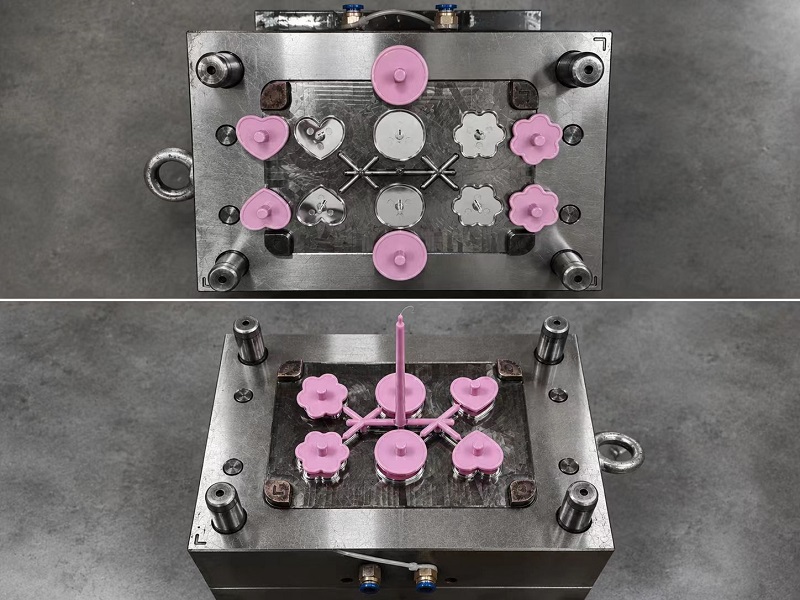
- Mold design and manufactureCavity layout, gate and runner positions, cooling channels, ejection. Cut on CNC and EDM. Small related parts are frequently combined into one family mold to hold tooling spend down.
- T1 trial shot and sample approvalThe first shots off the new tool. You receive samples for dimensional and cosmetic sign-off. Minor mold corrections happen here; expect at least one revision round and schedule for it.
- Mass productionThe approved tool runs to your quantity under in-process inspection. See mass production services.
- Decoration, assembly and packingPrinting, stamping, sub-assembly, then bagging to your packing spec — usually per player colour, per set, or bulk to your fulfilment partner.
4. The Cost Structure Nobody Explains to First-Time Designers
Board game component tooling cost and unit cost are two separate budgets, and confusing them is the single most common planning error we see.
The one-time bucket: tooling
You pay for the mold once. What drives its price is not the size of the part so much as the complexity of the steel that makes it. The main variables:
- Number of cavities — more cavities means a faster run but a more expensive tool
- Mold base material and hardness, which sets how many shots the tool will survive
- Undercuts requiring side actions, lifters or collapsible cores
- Surface texture and polish grade on cosmetic faces
- Whether unrelated parts can share one family mold
The recurring bucket: per unit
Every piece then carries material, machine time and labour. Part weight and cycle time dominate. A thick-walled figure takes longer to cool than a thin token, and cooling is most of the cycle. Secondary operations — printing, painting, assembly, individual bagging — are frequently the largest line item on decorated pieces, and they scale linearly with quantity in a way that molding does not.
The practical consequence is straightforward. Tooling spreads across your run, so unit economics improve sharply with volume and improve again on a reprint when the mold is already paid for. Our article on keeping costs low on a 1,000-unit board game goes deeper on the small-batch case.
Some suppliers bury tooling inside an inflated unit price so the headline quote looks competitive. That is not automatically dishonest, but it changes who owns the mold and what your reprint costs. Ask for tooling and unit price to be listed separately, and get the ownership position in writing before you pay a mold deposit.
5. Choosing the Right Plastic for Game Pieces
Material choice affects how the piece feels in hand, how it survives being dropped, whether artwork will stick to it, and what it costs. These are the plastics we most often specify for custom board game pieces.
| Material | Feel and finish | Toughness | Typical use | Watch out for |
|---|---|---|---|---|
| ABS | Rigid, holds crisp edges, accepts paint and ink readily | Good impact resistance | Miniatures, card holders, trays, dice towers | The default all-rounder for detailed rigid parts |
| PP | Slightly flexible with a waxy matte surface | Excellent — survives repeated flexing | Storage inserts, snap lids, organizers | Low surface energy; needs pre-treatment before printing |
| PS | Very rigid and glossy | Brittle — cracks rather than bends | Budget tokens and sprue-mounted pieces | Cheapest option, but thin features can snap |
| PVC | Available rigid or soft and pliable | Varies by formulation | Soft-touch figures, flexible characters | Confirm compliance rules for every market you ship to |
| TPE / TPU | Rubbery and grippy | Very flexible | Non-slip feet, grips, bendable elements | Usually a second shot or a separate part |
| POM | Dense, smooth, dimensionally stable | High | Dials, gears, moving mechanisms | Poor adhesion for printing and bonding |
Colour matters more than designers expect. Coloured masterbatch mixed into the resin gives you a piece that is the same colour all the way through, so scuffs do not show a white core. That is nearly always the right answer for game pieces that will be handled hundreds of times.
6. Decoration: Getting Your Artwork Onto the Part
Geometry decides the printing method, not preference. A flat panel and a curved helmet need different processes.
| Method | Works on | Strength | Best for |
|---|---|---|---|
| UV digital printing | Flat and gently curved faces | Full colour, no plate cost, photographic detail | Player boards, tiles, dials, tray faces |
| Pad printing | Curved, spherical and irregular surfaces | Reaches shapes no other method can | Figures, pawns, tokens, small logos |
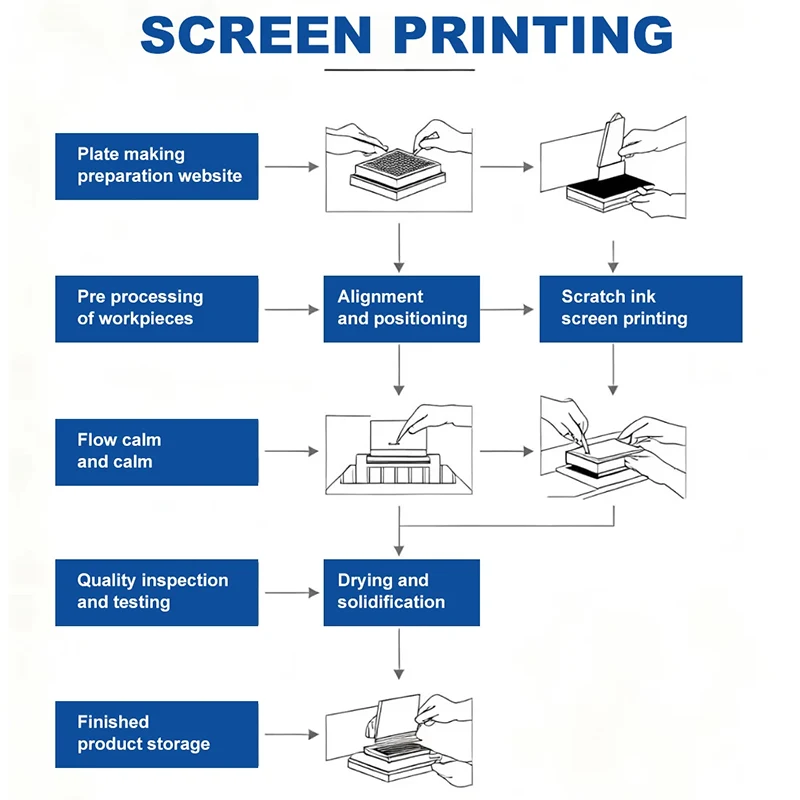
| Screen printing | Large flat areas | Dense, opaque colour laid down cheaply at volume | Bold single-colour graphics and text |
| Heat transfer | Curved and irregular shapes | Multi-colour artwork applied in one pass | Detailed wraps on shells and props |
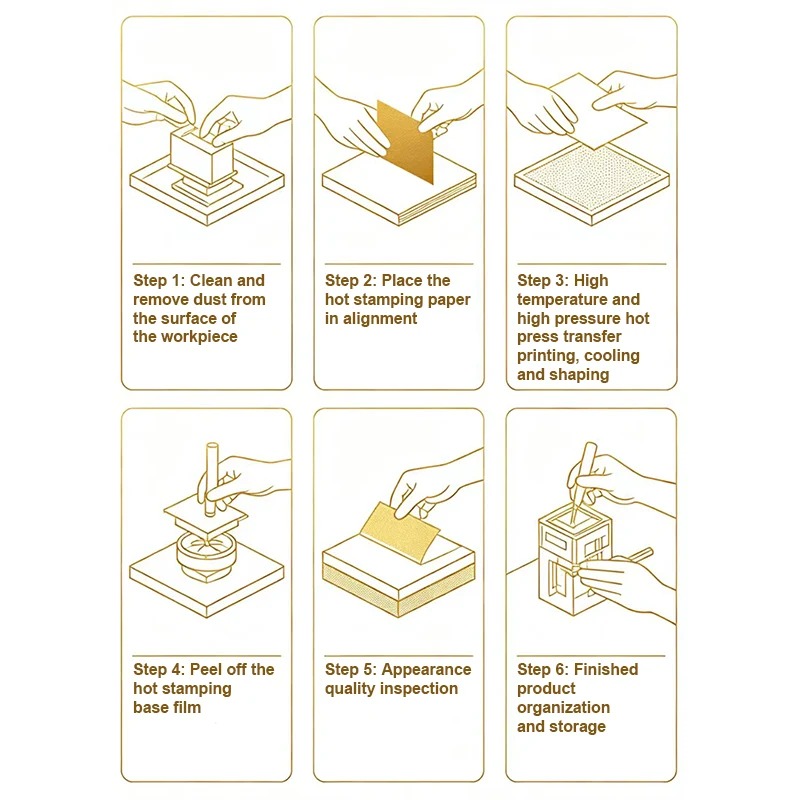
| Gold stamping | Raised or flat detail | Genuine metallic sheen ink cannot imitate | Deluxe editions, edge accents, emblems |
Two practical points. Adhesion depends on the substrate, so decide your material and your decoration together rather than in sequence. And send vector artwork with fonts converted to outlines — rasterised logos lose their edge quality at the scale most game pieces are printed.
7. What to Prepare Before You Request a Quote
A vague enquiry gets a vague number. A complete package gets a quote you can actually budget against. Before you contact a custom board game components manufacturer, assemble the following.
- 3D files. STEP is preferred because it carries true geometry. STL is workable but is a mesh, so it may need rebuilding.
- A 2D drawing marking critical dimensions, tolerances and which surfaces are cosmetic.
- Quantities — first run, and your honest expectation for a reprint. Both change the tooling recommendation.
- Colour references, ideally Pantone codes or a physical swatch rather than a screenshot.
- Decoration artwork in vector format, with placement marked on the model.
- Destination markets, because compliance requirements differ by region and affect material selection.
- Packing requirements — bagged per player colour, per set, or bulk.
- Your target ship date, including any crowdfunding commitment you have already announced.
If you are unsure whether your design is even a molding candidate, start with our checklist on whether a product is suitable for injection molding.
8. How We Work at Kingke
Kingke is the brand of Ningbo Jinghe Plastic Industry Co., Ltd., founded in 2017 in the Haishu District of Ningbo, China. We run a 1,500 m² plant across four workshops with a team of 15 to 50 people and dedicated quality control, production and sales departments. The company holds ISO 9001, ISO 14001 and ISO 45001 certification.
Our equipment is deliberately scaled for small, detailed parts: CNC and EDM for mold making in house, injection machines from 80T to 200T, and our own UV printing capability. That 80T to 200T range is the honest reason we fit tabletop work well. It is the wrong plant for a bumper or a pallet crate, and the right one for a 30 mm figure that has to look identical across a five-figure print run.
Keeping molding, printing and finishing under one roof matters more on game components than on most products, because a single piece often passes through three or four processes. Every handoff between separate vendors is a place where colour drifts, schedules slip and responsibility gets disputed. We ship to customers across North America, Europe, Australia and Southeast Asia, and support both OEM and ODM arrangements. You can read more about our factory.
9. Frequently Asked Questions
What is the minimum order quantity for custom board game components?
There is no single MOQ, because the figure depends on which route you choose and how the mold is configured. Injection molding carries a tooling investment, so it needs enough volume for that cost to spread sensibly across the run. Resin casting and 3D printing have no tooling cost and therefore no meaningful minimum, but their per-piece price stays high at any quantity. Send us your part list and target quantity and we will tell you which route your project actually belongs in.
How long does it take to manufacture custom board game components?
The schedule is driven by four blocks: design review and DFM, mold manufacture, T1 trial and sample approval, then the production run itself. Mold manufacture is normally the longest single block, and sample approval is the most variable because it depends on how quickly you sign off and whether a revision is needed. Build at least one revision round into your plan. We issue a stage-by-stage schedule with the quotation so you can align it with a crowdfunding or retail commitment.
Who owns the mold after I pay for it?
Ownership is a contractual matter, not an industry default, and it is the single most important clause to settle before you pay a tooling deposit. Get it stated explicitly in the purchase order: who holds title to the mold, where it is stored, who pays for maintenance, and what happens if you move production elsewhere. Never rely on a verbal assurance. If a supplier is reluctant to put the position in writing, treat that as the answer.
Can you match a specific colour?
Yes. Send a Pantone reference or, better, a physical sample. Colour is achieved by mixing masterbatch into the resin, which means the piece is coloured throughout rather than coated, so scuffs will not reveal a different colour underneath. Bear in mind that the same Pantone target reads differently across materials and surface finishes — a matte PP part and a gloss ABS part will not look identical. We confirm colour on physical samples before the production run.
What file format should I send for a quote?
STEP is the format we prefer, because it carries true solid geometry that can be measured and edited directly. STL files are common in tabletop design and we can work with them, but a mesh sometimes has to be rebuilt as a solid before mold design starts. Include a 2D drawing marking critical dimensions, tolerances and cosmetic surfaces. If you only have a sculpt and no engineering drawing, send the sculpt anyway and we will tell you what is missing.
Can you print artwork directly onto miniatures?
On curved and irregular surfaces such as figures, pad printing and heat transfer are the practical methods, and both work well for logos, insignia and small graphic details. UV digital printing produces full-colour photographic results but needs a flat or gently curved face, so it suits boards, tiles and dials rather than sculpted characters. Tell us which surfaces carry artwork when you send the model and we will specify the method during the design review.
Get your board game components quoted
Send your 3D files, quantity and colour references. As a custom board game components manufacturer with mold making, injection molding and printing under one roof, we will come back with a route recommendation, a DFM assessment and a stage-by-stage schedule.
Request a quote